Continuous Composting
That pile at the end of the garden where you toss your organic rubbish and let it rot down, is an example of continuous composting. Here are some tips for getting started if you decide to ‘give it a go’.
 Continuous Composting,
sometimes referred to as Cold Composting, is the simplest and probably the most commonly – used method of making ‘black gold’ – at least when starting out. It consists simply of:
- a pile of compostable material built up on a patch of bare ground or
- a single bin such as the ever-present ‘dalek’ bin.
There is minimum maintenance required and as long as you follow the simple tips below, it is relatively trouble-free.
The main draw-backs with continuous composting are:
- Firstly, the length of time it takes to make the compost. Because you are continuously adding new ingredients, you are unlikely to reach the temperatures necessary for rapid decomposition.
- Secondly, an unprotected heap like this is open to scavenging from the local animal population, so it is imperative that any tempting morsels are well buried. You really do not want to become the local fast-food outlet for rats and cats!
- Thirdly, because it is “cold” you will not be able to tackle the problem of meat and dairy product waste or expect to kill seeds or unwelcome diseases that may find their way into your pile.
I have friends who have started with a simple mound of grass clippings and kitchen peelings dumped on the garden and after a short time and because of a lack of patience, they spread out their ingredients on the soil and planted straight into the heap. They claim great success, although that was not the original plan. This is truly letting nature take its course, emulating the decomposing of leaves and other detritus on a forest floor. Lasagna composting works on a similar principle, although requires much more organisation and if you actually till the materials into the soil, you are practising ‘soil incorporation’ which is another great way of getting everything together.
Tips for Continuous Composting
-
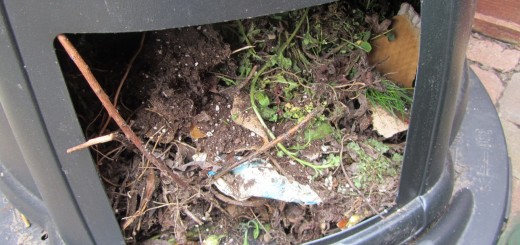
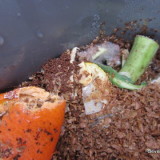
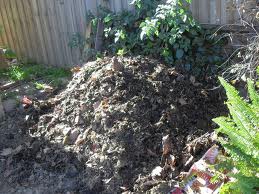
This heap is made bit by bit, as materials become available. Continuous composting
Ensure that your heap is at least a cubic metre (yard) in size, i.e. 1 mtr (yd.) high x 1 mtr (yd.) wide x 1 mtr (yd) deep. If you have the space, 5′ wide would be even better. This will helpto prevent drying out and help to maintain temperature.
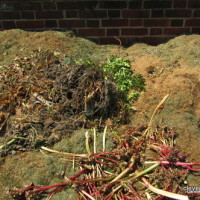
- Make your first layer one of coarse, twiggy material that will aid drainage. – About 7cm or 3 ” deep.
- Use a variety of ingredients, brown and green and add a small amount of soil with each layer.
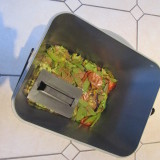
- From the kitchen, use only raw vegetable and fruit waste. Cover it well with leaves, lawn clippings,sheets of cardboard or tarpaulin, to discourage animal visitors and possible smells.
- Cut your ingredients into small pieces to support efficient oxygenation and to assist the microbes in their task. You could stir it around a bit with a garden fork if you wished.
- Avoid dumping vast amounts of grass clippings without stirring things up a bit. In bulk, they have a tendency to form a mat and to begin to smell. (Not a sweet grass smell, either!)
- Make sure the ingredients are kept moist.
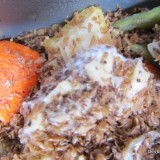
- When ‘done’, (several months) extract the good stuff and spread it where-ever you need it. Anything that is not fully composted can be mixed back into the remaining compost as a ‘starter’.
Following these simple tips and tweaking where necessary to fit your particular circumstances, will help to ensure that you will experience continuous success!
Compost achieved – 8-12 months