Composting In Winter Months
If you are wondering what to do with your compost in winter, look no further. If you want to, you will be able to continue your composting right through the season. (If this is bad news for you, I’m sorry. Pretend you never started to read this.)
 Once the temperatures drop, it is tempting to close everything down and to end the trips down to the end of the garden in the belief that the intense cold will stop all microbial activity. It is widely accepted that winter is not the time to expect much activity in the bin. True, left to itself, in snow and ice, the process will certainly stumble to a halt, or at the very least, slow down tremendously. In really cold climates, there are no grass clippings or garden waste to worry about once the fallen leaves have been dealt with and many gardeners feel there is little point in spending the time on maintaining and turning whatever waste is available. Anyway, who wants to go out in the driving rain/snow/sleet/icy cold when the warmth inside is so attractive? Who wants to be making compost in winter?
Well, according to those who know, it is possible to keep temperatures at a level warm enough to keep at least some microbial activity humming away. You can even achieve really warm temperatures if your ingredients are right and if you take a few precautions. Basically, your aim is to keep a warm ‘core’ in your bin where the microbes can continue to function. The outside layers of compost will remain at ambient temperature and the centre will be where the action will be maintained.
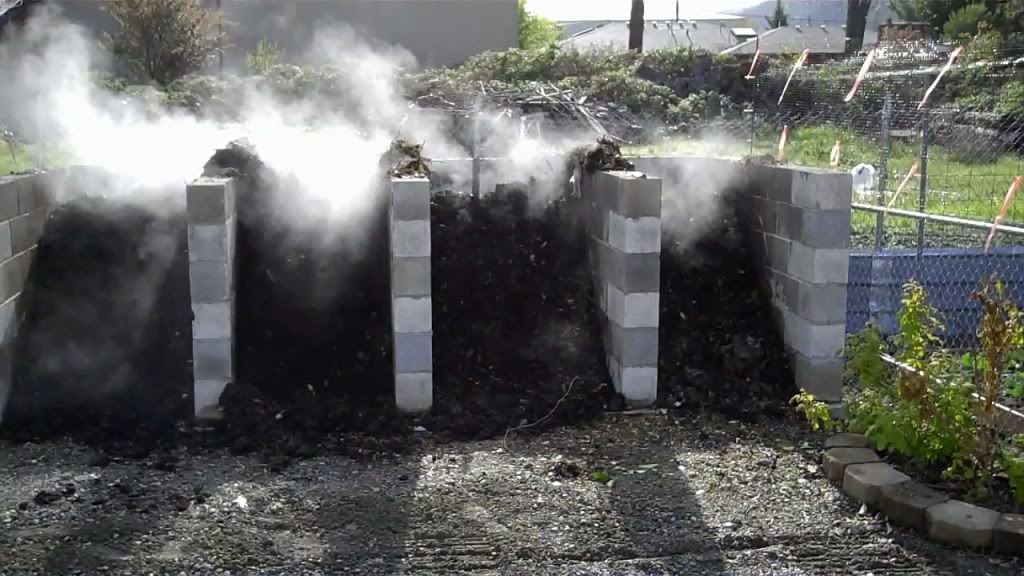
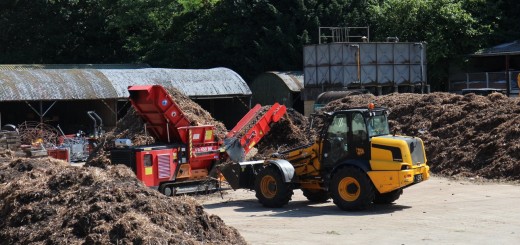
At the stables, you will often see piles of straw and hay laced with horse manure and urine, the residue from mucking out, steaming away. In the depths of winter, snow on the ground and icy cold you will still see tendrils of vapour rising sky-wards, the weather notwithstanding. So that just proves that all is possible if the inclination is there.
A really comprehensive article, from “Organic Gardening” the magazine of Rodale Inc outlines the requirements for making compost in winter and the special measures you should take to increase your chances of success.
Here are some of the actions they suggest will help to keep that core area hot.
- Make sure you have a good balance of greens and browns. (nitrogen and carbon)
- Chop or shred your ingredients up really small – less than 2 inches, according to Tamara Listiak of the Texas A & M Cooperative Extension. The cold makes the microbes sluggish and they need all the help they can get.
- Take care to layer browns and greens rather than mixing them. This helps with insulation so keeping your pile warm
- Cold winds and low humidity (in some areas) can dry out your ingredients. Keep an eye on moisture levels and water when there is a little warmth
- Do not be tempted to turn your compost as you do in summer. Disturb your ingredients as little as possible to keep in the warmth and wait until the weather gets warmer.
Rodale suggest that you insulate your bin from the outside, too. They offer the following options, which will help to maintain the temperatures inside:
- Where available, site your bin in full sun.
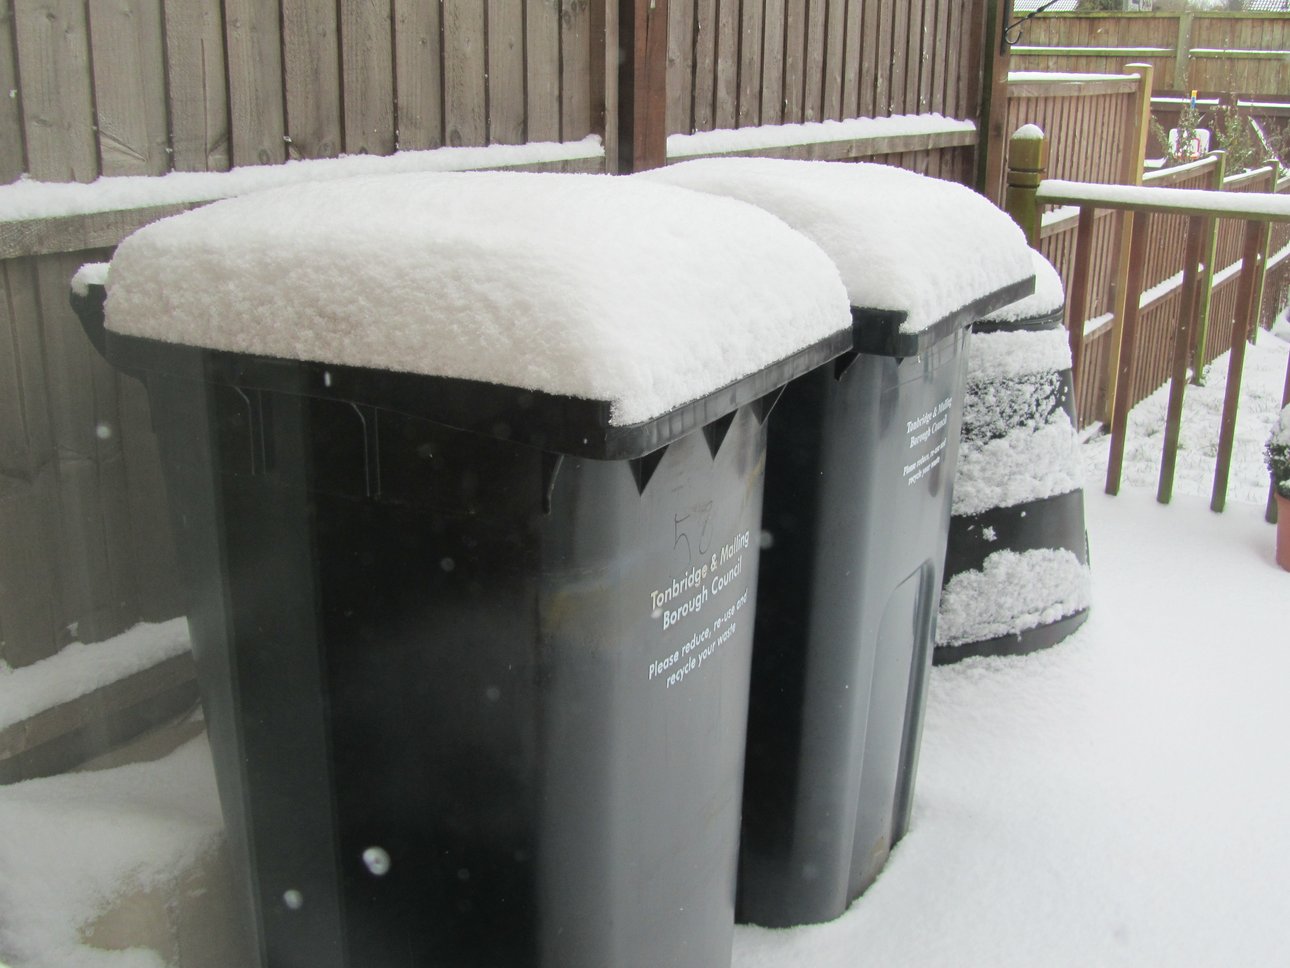
- Leave any build-up of snow intact if you are not adding fresh material. Only remove it if you are adding fresh ingredients.
- Cover with a tarp, old carpet or some sort of protective sheeting, but remember to check moisture levels.
- Use straw bales packed around your bin.
- Bury your ingredients in a trench, taking advantage of the ground’s own heat stored from summer.
Enjoy this video from OneYardRevolution. As always, interesting, lively and informative. Thanks to those who do such great work.
Finally, here are instructions for making an insulated composter yourself – nothing like a bit of DIY – as taken from Organic Gardening. I thought you may find it really useful if you decide to go ahead and keep your composting program alive this winter.
“Homemade Insulated Composter
- Using a sharp utility knife, cut the bottom out of a plastic trash can.
- Poke or drill holes around the sides of the can, 6 to 12 inches from the top, for ventilation.
- Dig 1-foot hole and sink the can into it.
- Insulate the above-ground part of the can with straw bales, packing dried leaves into the gaps.
- Put a few scoops of soil or compost in the bottom, and layer brown and green ingredients as they become available. Keep the lid tightly closed between additions.” Rodale – Organic Gardening.
So – there you are. Some things need to be done a little differently than in summer, but not too much. The great thing will be how your plants and seedlings will benefit from a real kick start in the spring, when you will have all that great compost ready to go!
Source URL:
http://www.organicgardening.com/learn-and-grow/cold-weather-compost
Other links:
http://www.compostguy.com/winter-composting/
http://smallfarms.oregonstate.edu/sfn/fall06compost